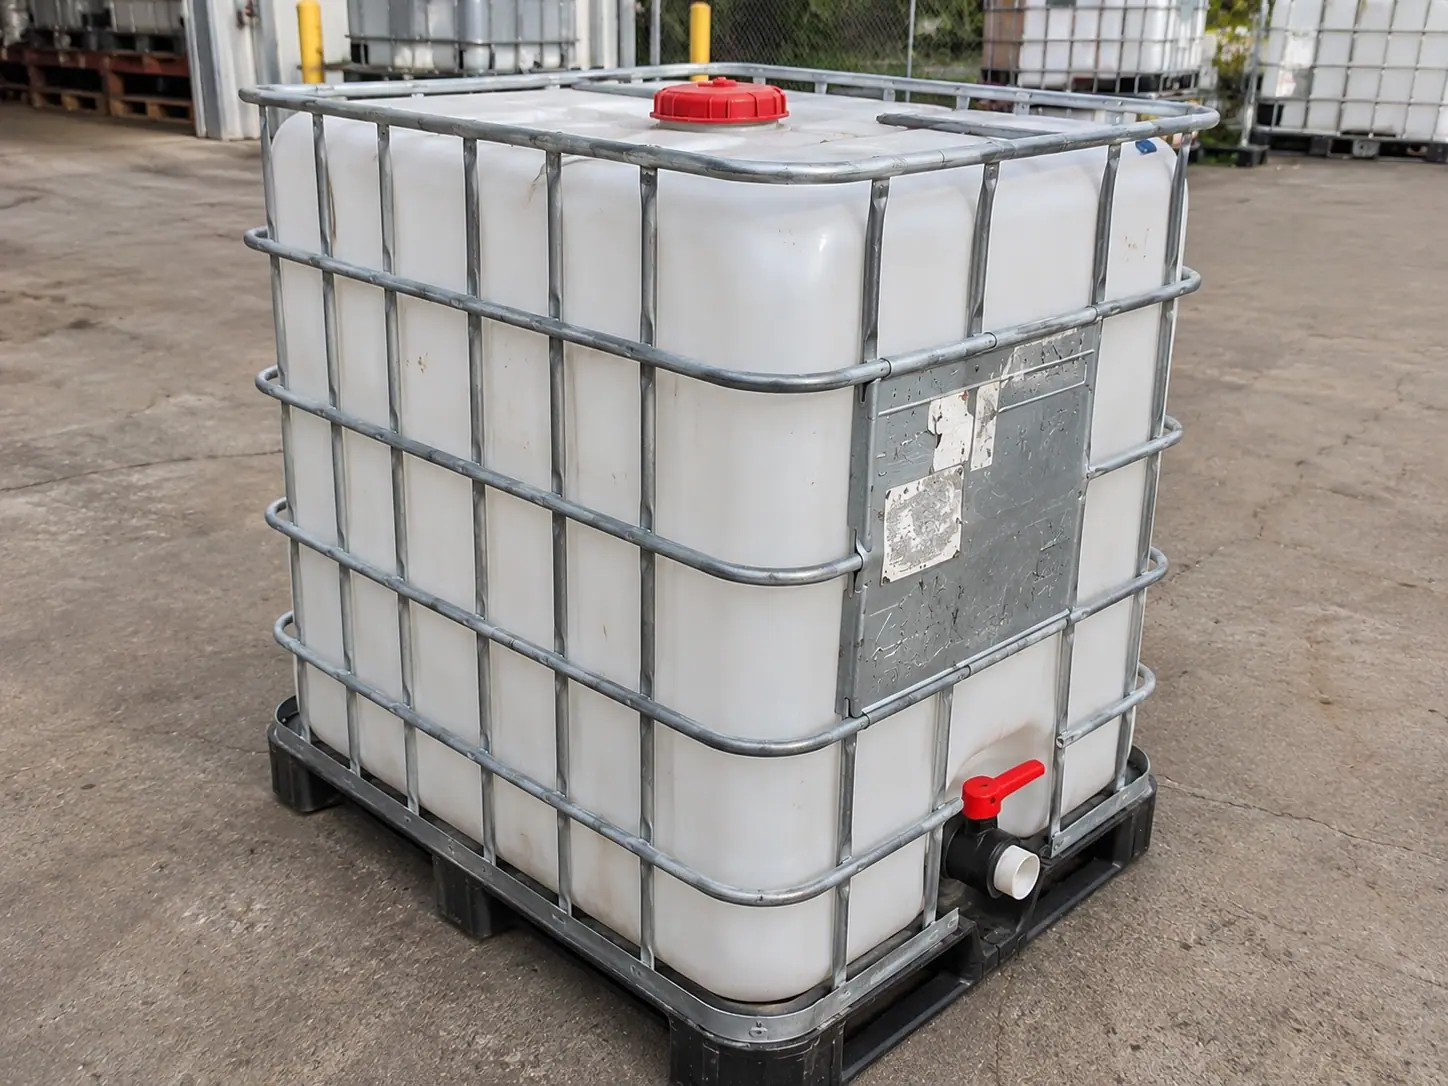
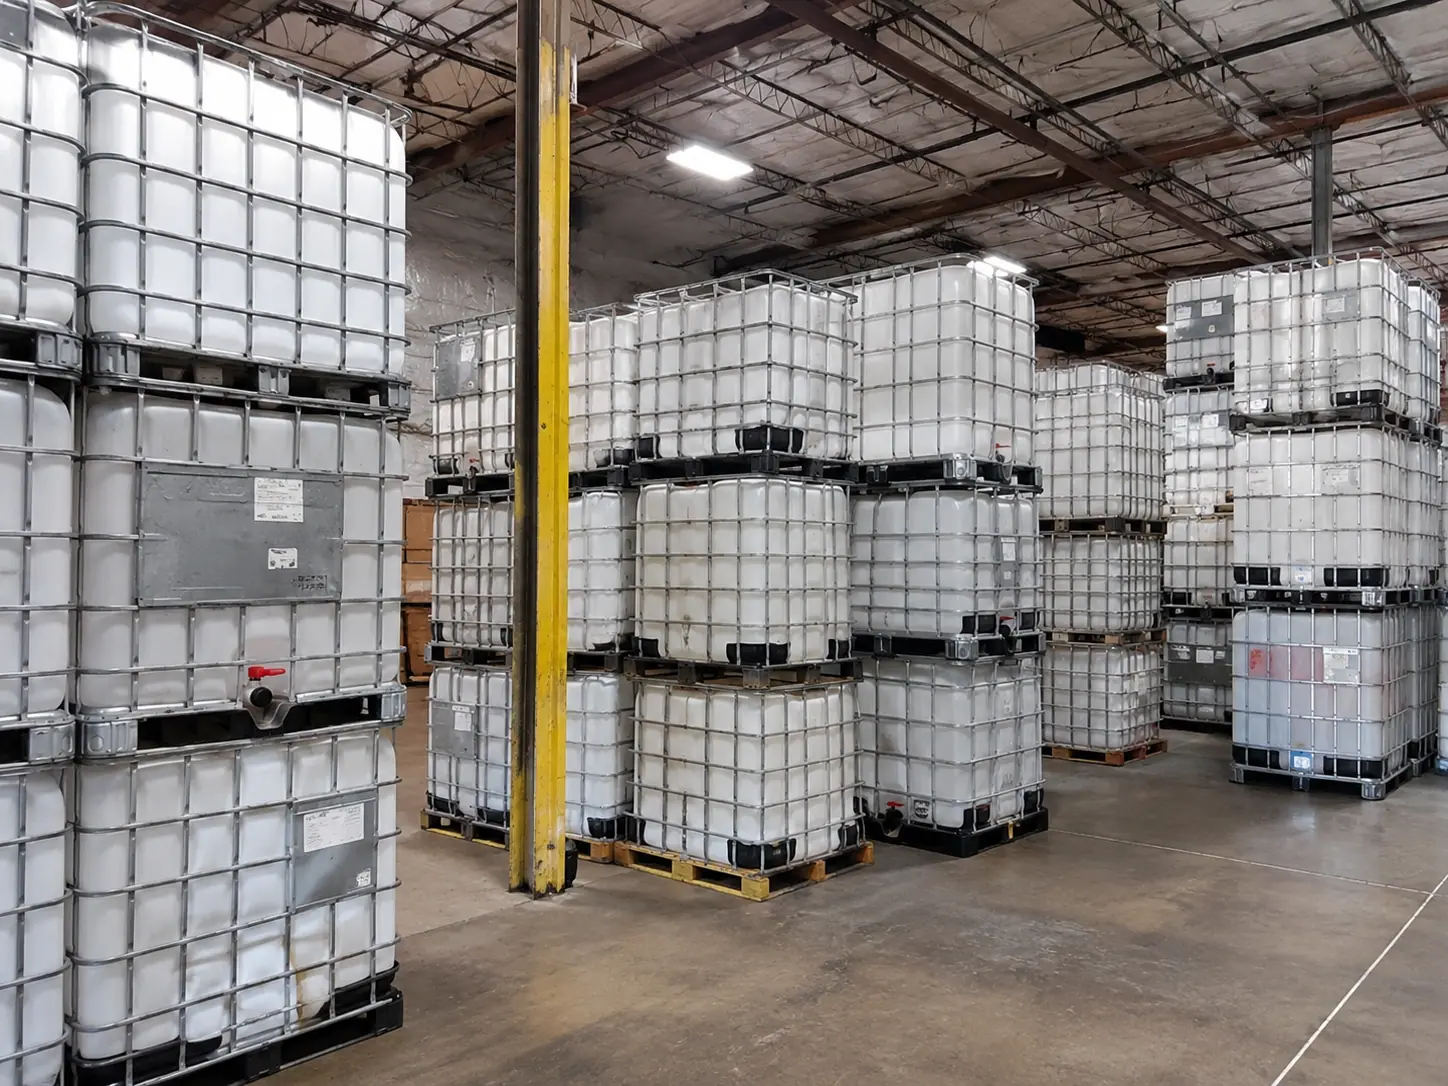
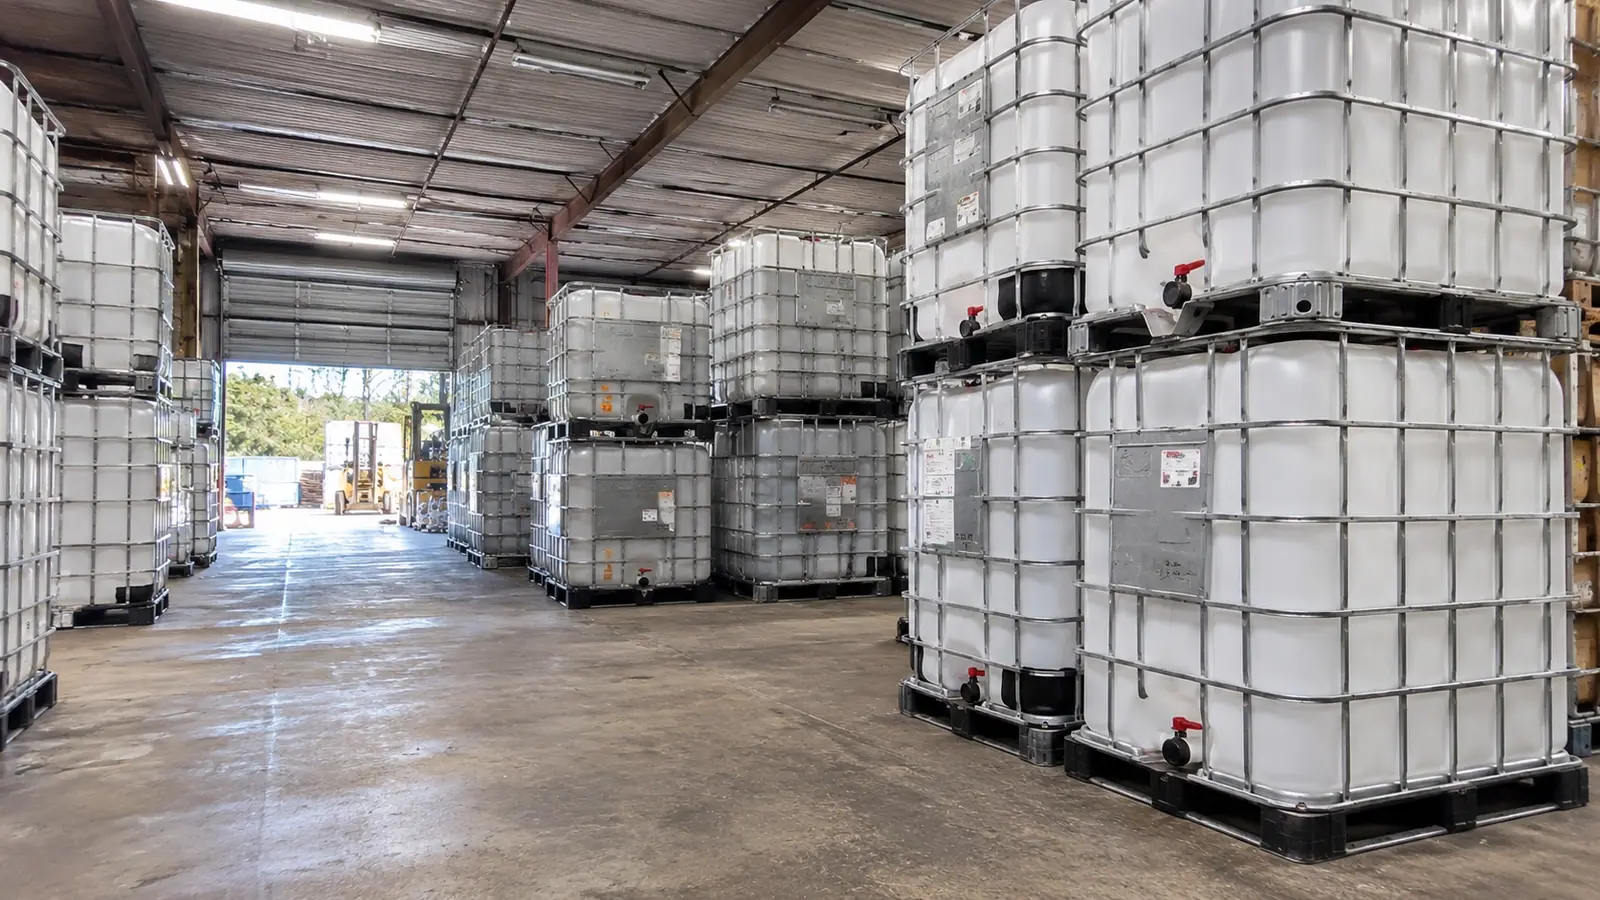
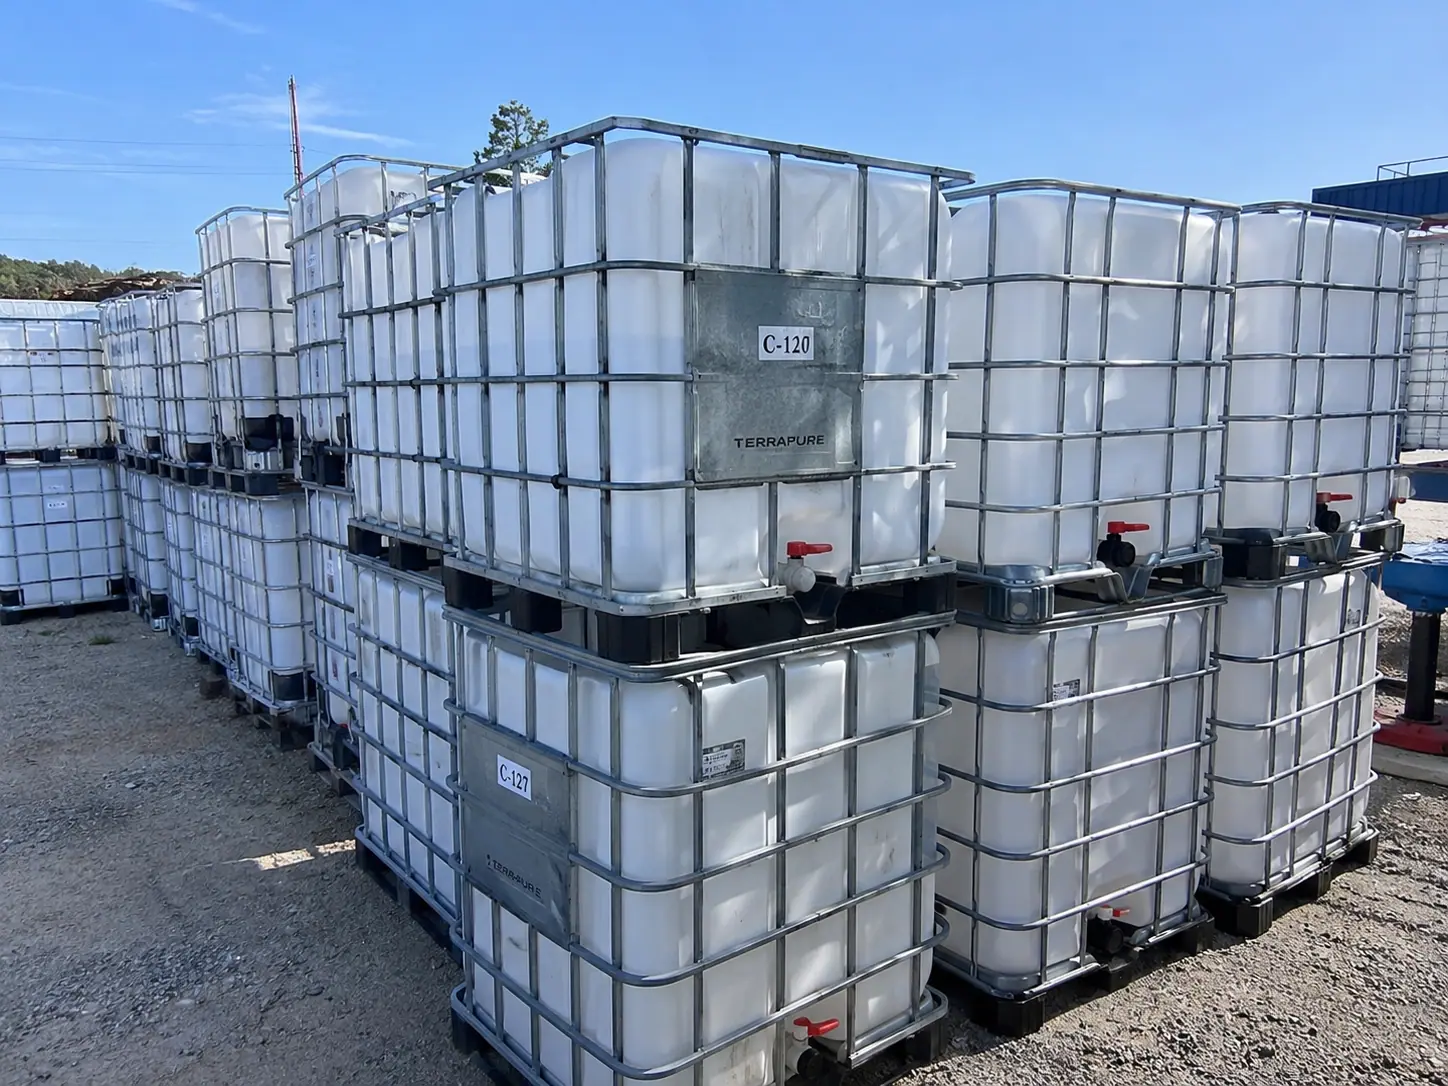
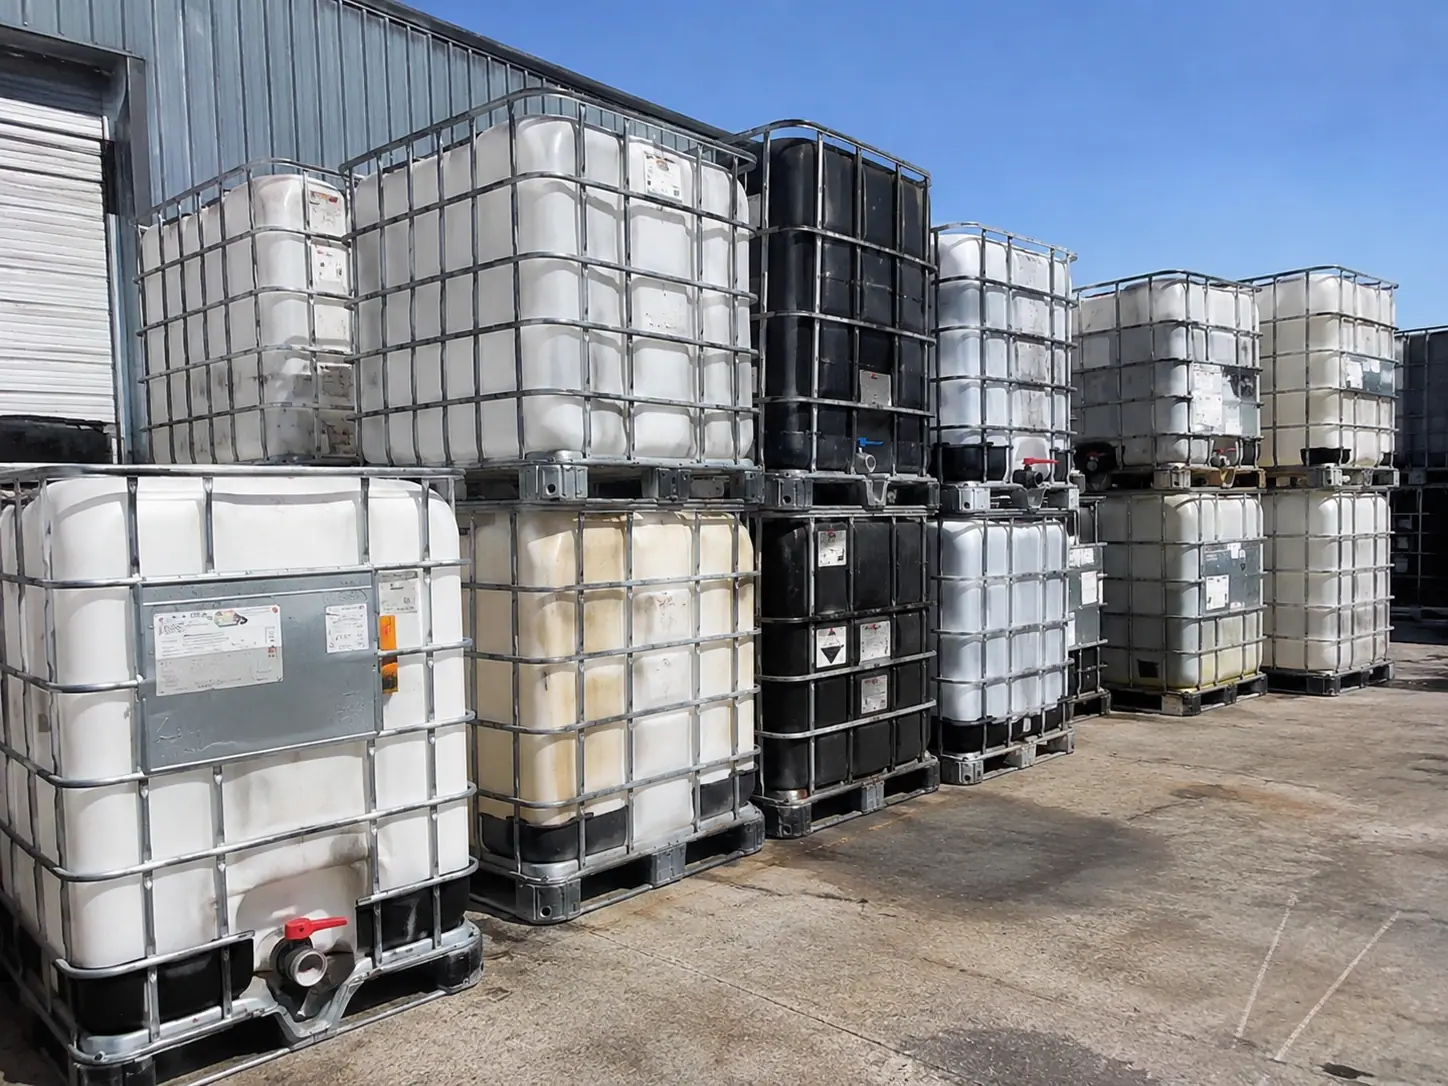
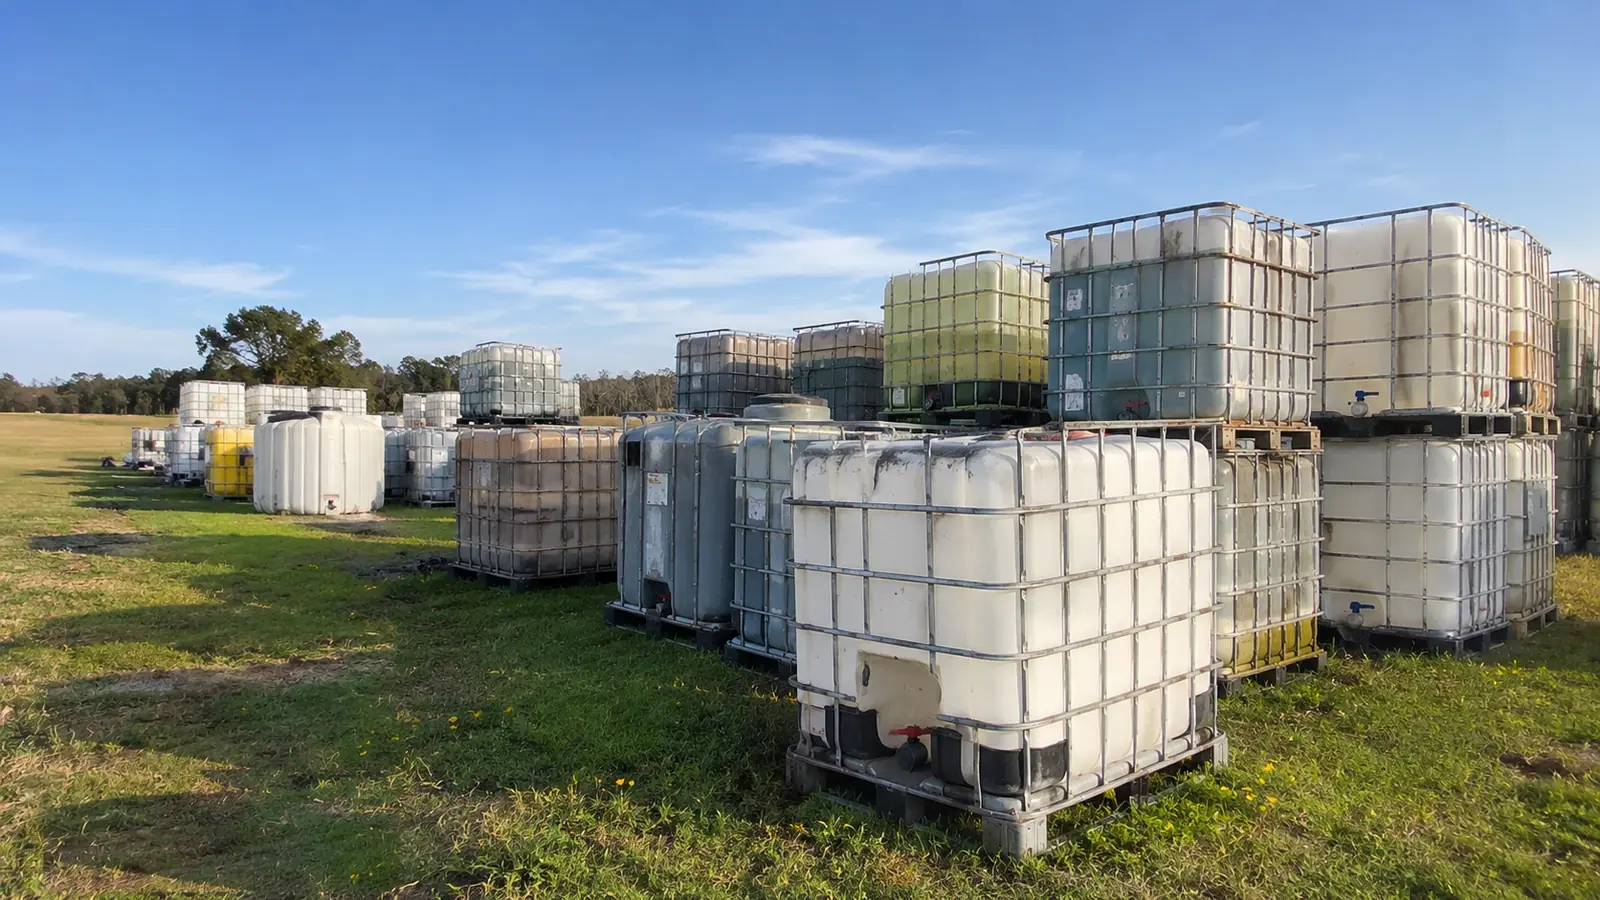
Totes make good aquaponic systems and bad ones, and the difference is almost entirely decided before you cut anything — at the point where you choose which containers to buy.
Start with provenance, not plumbing
You are going to put fish in one of these and eat what grows out of the other. Every other decision in this build is reversible; this one is not.
Use documented food-history units only. Not “it looks clean.” Not “it was washed.” A written prior-cargo declaration showing the container only ever held food-contact cargo. HDPE absorbs certain compounds into the wall itself and releases them slowly for years, and fish are considerably more sensitive to that than people are.
We hold food-history Grade C units back specifically for this, and we will confirm provenance in writing. If a supplier cannot do that, buy elsewhere — this is not a corner worth cutting for the sake of a few dollars.
The standard two-tote layout
One tote becomes the grow bed, the lower third of a second becomes the fish tank or sump. You need two containers, not one.
- Grow bed. Cut the top off a tote at roughly twelve inches, keep the cage as a frame, drill and screen drainage. Media depth of ten to twelve inches suits most crops.
- Fish tank / sump. The lower section of a second tote, which gives you a wide, shallow, stable vessel rather than a deep narrow one.
- Stand. The cages, re-welded. The grow bed sits above the sump so the drain is gravity-fed.
The bell siphon, and why it is worth the fiddling
A flood-and-drain bed needs to fill slowly and empty quickly, which is what a bell siphon does without any electronics. Water rises until it reaches the top of the stand pipe, the bell primes, and the whole bed drains in a rush before the siphon breaks.
It will take you three attempts to tune. The ratios that matter are the stand pipe diameter to bell diameter, and the inflow rate relative to the drain rate. If the inflow is too fast the siphon never breaks and you have a constant-flow system; too slow and it never primes.
This is the part of the build that generates the most emails, and the honest advice is to build it on the bench with a hose before you install it.
Media
Expanded clay is light, pH-neutral and expensive. Lava rock is cheap, heavy and sharp. River gravel is cheapest and heaviest, and weight matters — a tote grow bed full of wet gravel is well over a thousand pounds, which is a structural question for your stand and your floor.
Whatever you choose, rinse it thoroughly. Fines clog siphons.
Water volume and fish load
A conservative starting point is one pound of fish per five to ten gallons of system water, biased toward the lower stocking density until your biofilter is established. Cycling the system — establishing the nitrifying bacteria — takes four to six weeks before any fish go in, and skipping it is the most common way these systems fail.
Light, algae and the translucent bottle problem
Natural HDPE transmits light, and light plus nutrient-rich water equals algae. Shade the sump, paint it, wrap it, or specify a black bottle. The grow bed is less of a problem because the media shades it.
UV also embrittles natural HDPE over about eighteen months outdoors, so shading is structural as well as biological.
Winter, if you are anywhere cold
An outdoor system in the Midwest is a seasonal system unless it is in a greenhouse. Water freezing in the bed will split it, the siphon will fail first, and the fish will not survive the swing. Plan either a greenhouse, a basement, or an annual shutdown.
What we supply
We build the bed-and-sump pair flat-packed with the plumbing kit, from documented food-history units, in the fabrication bay. We do not certify the system, your water or your fish — that is your build and your responsibility. What we will do is guarantee the provenance of the containers in writing, which is the part you genuinely cannot check yourself.
The pattern is on the upcycled builds page, along with ten others.
Cycling the system, which cannot be rushed
Before any fish go in, the biofilter has to establish: bacteria that convert ammonia to nitrite, and a second population that converts nitrite to nitrate. That takes four to six weeks at normal temperatures and there is no way to shorten it meaningfully.
Add ammonia in small doses and test daily. You are waiting for ammonia to spike and fall, then nitrite to spike and fall, then stable nitrate. Only when both ammonia and nitrite read near zero with ammonia being added is the system ready.
Stocking before that point is the single most common cause of failure in a first system, and it is also the most expensive because it kills fish.
The weight question nobody checks
A tote grow bed with twelve inches of wet gravel is heavy. Gravel runs about 100 pounds per cubic foot dry and more wet; twelve inches across a 36 by 44 inch internal footprint is roughly eleven cubic feet, so comfortably over 1,100 pounds of media before you add water.
That load sits on a stand built from cage sections, which sits on your floor. On a concrete slab it is a non-issue. On a timber deck, a greenhouse bench or an upper floor it is a structural question that wants answering before you fill it rather than after.
Expanded clay at roughly a quarter the weight of gravel costs considerably more and solves this entirely. For an elevated or indoor build it is usually worth the money.
Plumbing specifics that save a rebuild
- Use unions, not glued joints, anywhere you might need to disassemble. You will need to disassemble.
- Screen the pump inlet and keep it off the floor of the sump, or it will draw solids and block.
- Fit a bypass on the pump outlet so you can tune inflow rate without changing the pump. The siphon depends on inflow rate, so you want it adjustable.
- Oversize the drain, always. A siphon that cannot dump fast enough never breaks.
- Put an overflow in the sump that discharges somewhere harmless. Pumps fail on.
Tuning the bell siphon
Expect three attempts. The variables, in order of how much they matter:
- Inflow rate. Too fast and it never breaks; too slow and it never primes. This is the main dial.
- Stand pipe to bell diameter ratio. The bell needs enough annular area to prime. Too tight and it will not start.
- Bell height above the stand pipe. Sets the air volume that drives the prime.
- A snorkel or breather hole near the top of the bell gives you a reliable break point.
Build it on a bench with a hose before installing it. Tuning a siphon that is buried under eleven cubic feet of gravel is miserable.
Stocking and species, briefly
Start conservatively — one pound of fish per eight to ten gallons of system water — and increase only once the biofilter has demonstrated it can handle the load. Tilapia are the usual choice for warm systems because they are tolerant and grow fast; trout suit cold systems; ornamental species work perfectly well if you only want the nutrients.
Whatever you stock, the nitrogen load is driven by what you feed, not by how many fish you have. Overfeeding a lightly-stocked system will crash it just as effectively as overstocking.
Winter, honestly
An outdoor tote system in the Midwest is a seasonal system. Water in the bed freezing will split it, the siphon will be the first thing to fail, and the temperature swings will stress the fish long before the hard freeze.
Realistic options: a greenhouse, a basement with lighting, or an annual shutdown with the system drained in October. Choose before you build rather than discovering it in November. There is general guidance in winterising IBC totes.
Where we stop
We build the bed-and-sump pair flat-packed with the plumbing kit, from documented food-history units, and we guarantee the provenance of the containers in writing. We do not certify your water, your system or your fish — that is your build.
The provenance guarantee is the part you genuinely cannot verify yourself, and it is the part that matters most. Everything else in this post you can learn by doing.