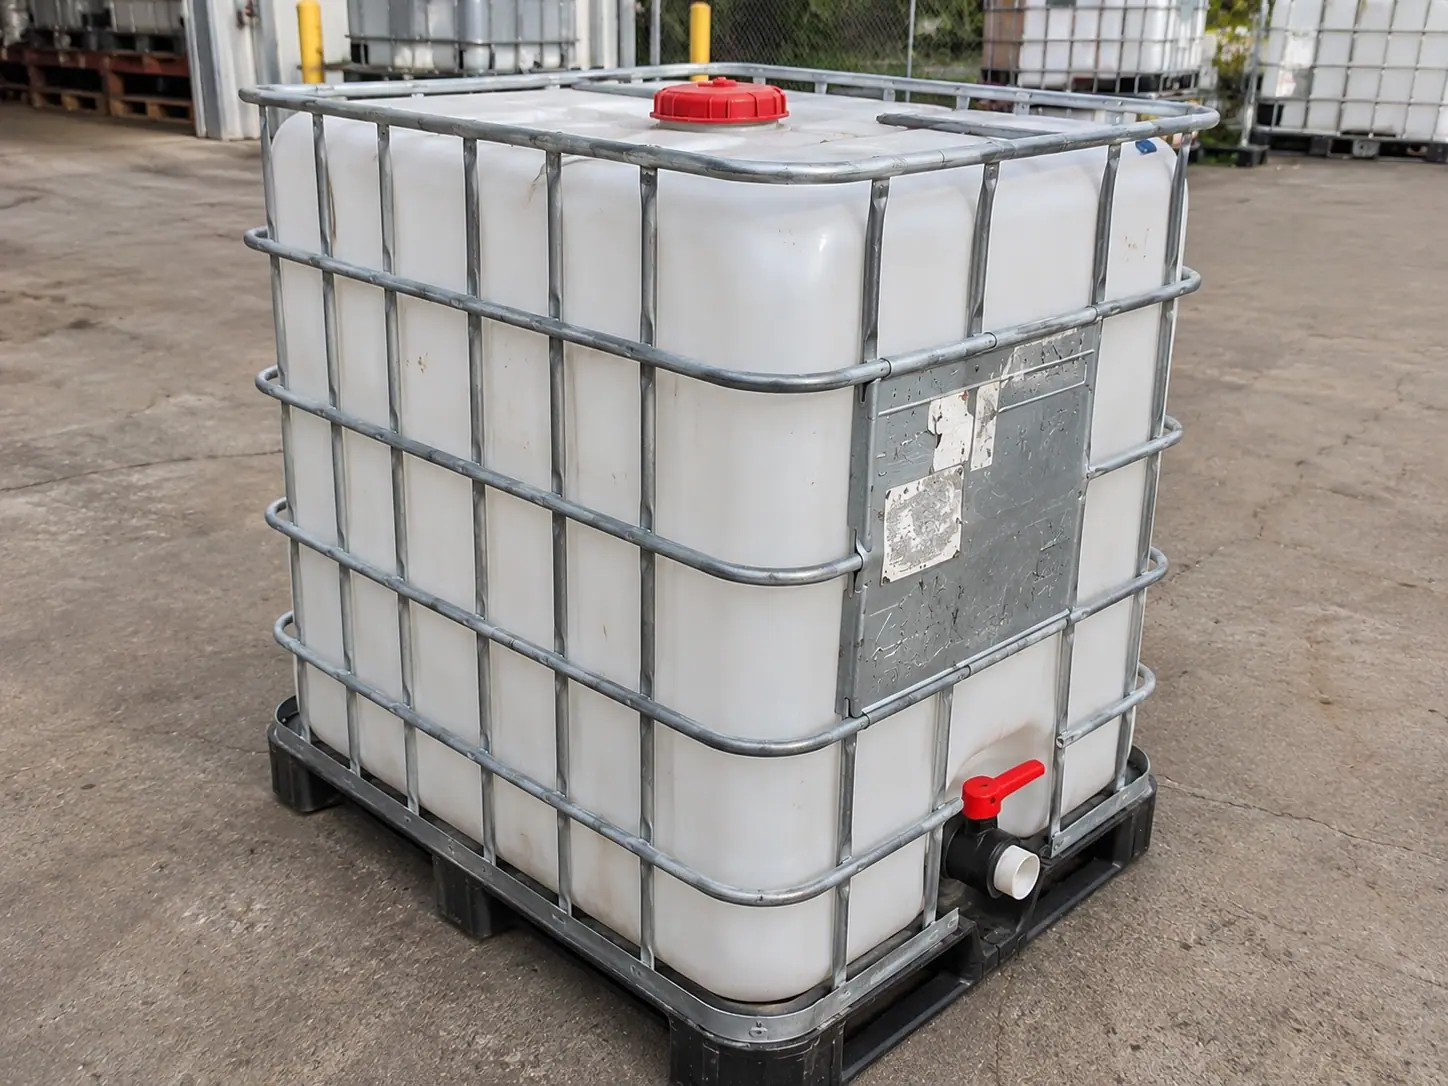
Three things change how an HDPE bottle wall looks, they are easy to confuse, and they mean completely different futures for the container. Telling them apart takes a light source and about ninety seconds.
Haze — usually cosmetic
What it looks like: uniform cloudiness across a large area. The wall has gone from translucent to milky, evenly, with no texture to it.
What causes it: ordinary service. Residue films, mineral deposits, micro-scuffing from agitation, and plain age. Some cargoes haze a bottle in one fill — anything with fine solids will.
What it means: very little, mechanically. A hazed bottle that is otherwise sound is Grade B. It is uniformly cloudy rather than structurally compromised, and it will do several more trips.
How to confirm: run a fingernail across it. Haze is smooth. If you can feel texture, it is something else.
Stress whitening — permanent mechanical damage
What it looks like: chalky, opaque white patches, usually at the four lower corners, sometimes along a strap line or where the bottle has pressed against a cage bar. Localised rather than uniform.
What causes it: the polymer being stretched past its elastic limit. Micro-voids form between the crystalline regions and scatter light, which is why the area goes white. Over-filling, dropping, stacking warm, stacking dense cargo, or freezing all do it.
What it means: the material in that area has permanently lost ductility. It will not recover. Any visible stress whitening drops a unit from Grade A to B at our bench, and extensive whitening means the container has far fewer trips left than its age suggests.
How to confirm: look at the location. Corners and contact points mean stress. Flex the area gently — whitened material feels stiffer and sounds different from the wall around it.
Crazing — the one that condemns
What it looks like: fine surface cracking, like frost on a window or a very shallow crackle glaze. Frequently invisible until you hold the wall against a light at an angle.
What causes it: environmental stress cracking — a chemical attacking the polymer while it is under tensile load. Ketones, aromatics, chlorinated solvents and some surfactants are the usual culprits. UV exposure produces a similar effect over a long enough period.
What it means: the container is finished for cargo service. Crazing propagates under stress, and a crazed bottle will eventually fail through-wall at a point nobody predicted. It is a critical failure on our nineteen-point inspection — number six — and it sends a unit straight to rebottling or recovery.
How to confirm: hold a bright light behind or at a low angle to the wall and look along the surface rather than through it. Crazing shows as a network of fine lines that catch the light. This is the check most people never do, and it is the most important one.
A fourth thing: scoring
Not an optical effect but frequently confused with the above. Scoring is physical gouging — usually from aggressive mechanical agitation, a dropped tool, or a dip tube that has been dragged across the floor of the bottle.
You can feel it with a fingernail, which is the test. Scoring holds residue that no wash cycle reaches, so a scored bottle drops to Grade C at best and frequently further, depending on what it held.
The ninety-second inspection
- Open the lid and smell it. Any odour at all is a stop.
- Shine a light down the inside wall and look along the surface for crazing.
- Run a fingernail down the interior wall for scoring.
- Walk the four lower corners looking for chalky white patches.
- Look at the overall translucency for haze — and then ignore it if everything else passed.
Why the distinction is commercially useful
Because haze is the one people reject units over, and it is the one that matters least. We regularly see buyers turn down a perfectly sound Grade B because it looks cloudy, then accept a unit with corner whitening because it looks clear.
Clear and brittle is worse than cloudy and ductile. If you learn one thing from this post, learn to look at the corners rather than at the overall clarity.
The full nineteen-point system and the exact thresholds that move a unit between grades are published on the grade scale page.
Getting the light right
Most of this inspection depends on lighting, and most people get it wrong by looking straight through the wall under overhead light.
For crazing: a bright point source held at a low angle so the light travels along the surface rather than through it. Crazing catches raking light and disappears under direct light. A phone torch held almost flat against the wall works perfectly.
For haze and translucency: light behind the wall, looking through. This is the opposite geometry and it is what people default to, which is why haze gets noticed and crazing does not.
For stress whitening: any light, but look at the corners specifically and from outside. It is an opacity change rather than a surface effect.
Our grading bench runs at 5000 K because colour temperature affects how readily you see an opacity change. Daylight is fine; sodium lighting in an old warehouse is not, and if you are inspecting under orange light you will miss things.
Where each defect appears
Location is as diagnostic as appearance:
| Defect | Where it appears | Implication |
|---|---|---|
| Haze | Uniform, whole wall | Service wear. Grade B at worst. |
| Stress whitening | Four lower corners; strap lines; cage bar contact | Permanent. Grade drop and fewer trips left. |
| Crazing | Anywhere, often mid-wall and at the dome radius | Condemned for cargo. |
| Scoring | Interior floor and lower wall | Holds residue. Grade C at best. |
| UV chalking | Exterior, sun-facing faces only | Rebottle candidate if advanced. |
| Bulge | Mid-wall between cage bars | Heat or pressure history. Critical. |
A defect in the wrong place for its appearance is worth a second look. Whitening in the middle of a wall rather than at a corner, for instance, usually means a strap crossed unsupported bottle wall in transit — which is a securement finding rather than a container fault.
The wall thickness spot check
Point eight on our inspection. A blow-moulded bottle has wall thickness varying from roughly sixty to eighty thousandths of an inch, and the thinnest point is usually at the corners or at the parting line.
We check with an ultrasonic gauge. You cannot do that in somebody's yard, but you can approximate it: press firmly on the lower corner with a thumb. A sound wall barely moves. A thinned or UV-degraded wall flexes noticeably and feels dead rather than springy.
It is crude and it correlates well with what the gauge tells us.
Why clear is not the same as good
The commercial point of this post. Buyers reject hazy units and accept clear ones, and the correlation with remaining service life is close to zero — occasionally negative.
A bottle can be beautifully clear and have stress whitening at every corner from being over-filled and stacked warm. A bottle can be thoroughly hazy from mineral deposits and be structurally perfect. Clarity tells you about the last cargo; the corners tell you about the container.
We have stopped being surprised by buyers who specify “must be clear,” and we do push back on it, because it pushes us toward units that photograph well rather than units that last. Specify the duty and let the grading system work — the published thresholds are on the grade scale page.
What to do with each finding
- Haze only: buy it. Grade B pricing, full service life.
- Mild corner whitening: buy it for non-critical duty. Fewer trips left; price accordingly.
- Extensive whitening: water duty only, or rebottle.
- Any crazing: do not buy it for cargo at any price. Cage is probably fine.
- Scoring you can feel: water duty only.
- Bulge or deformation: reject. It has a heat or pressure history you do not know.
Five minutes, a torch, and a fingernail. It is the most useful inspection skill in this industry and almost nobody is taught it.